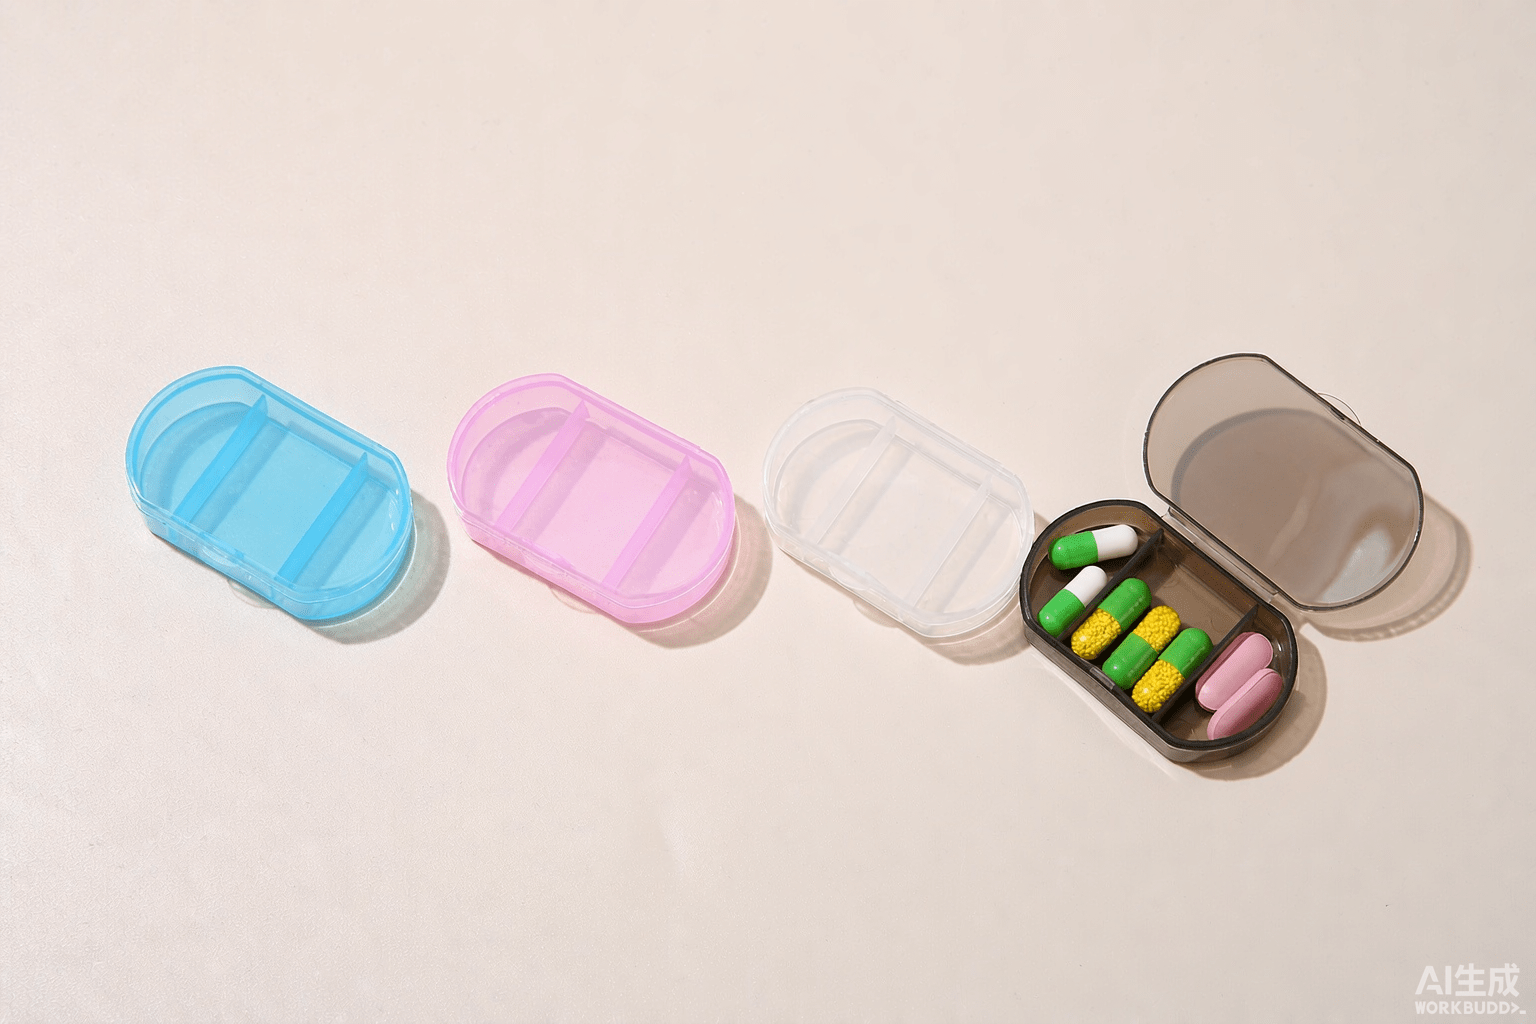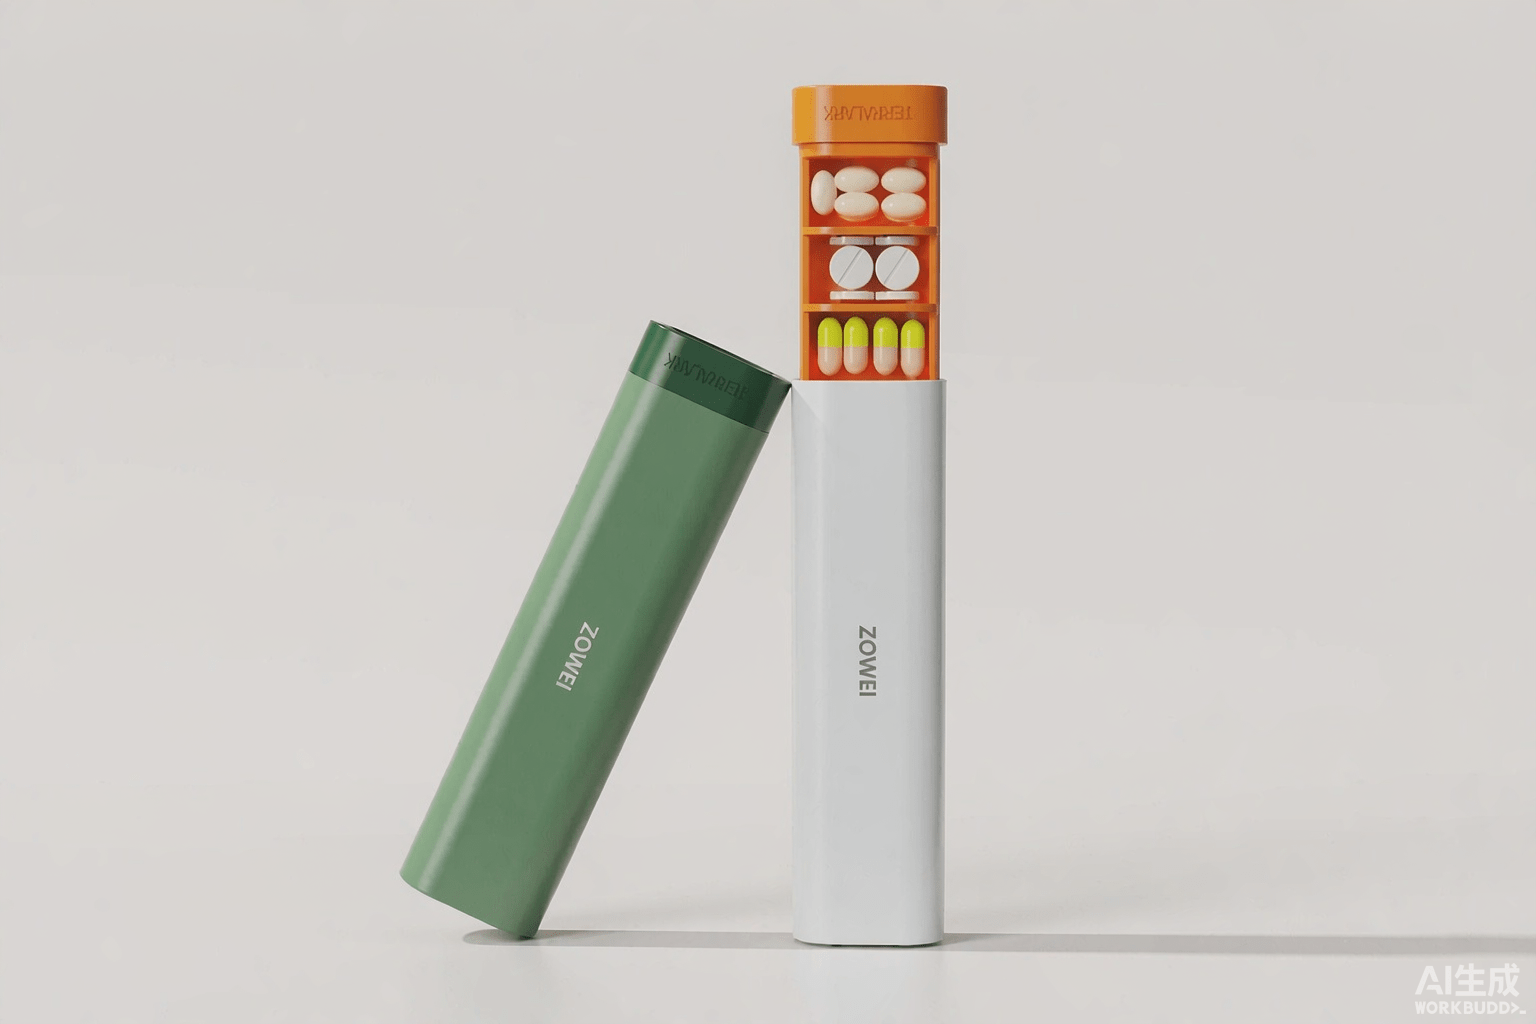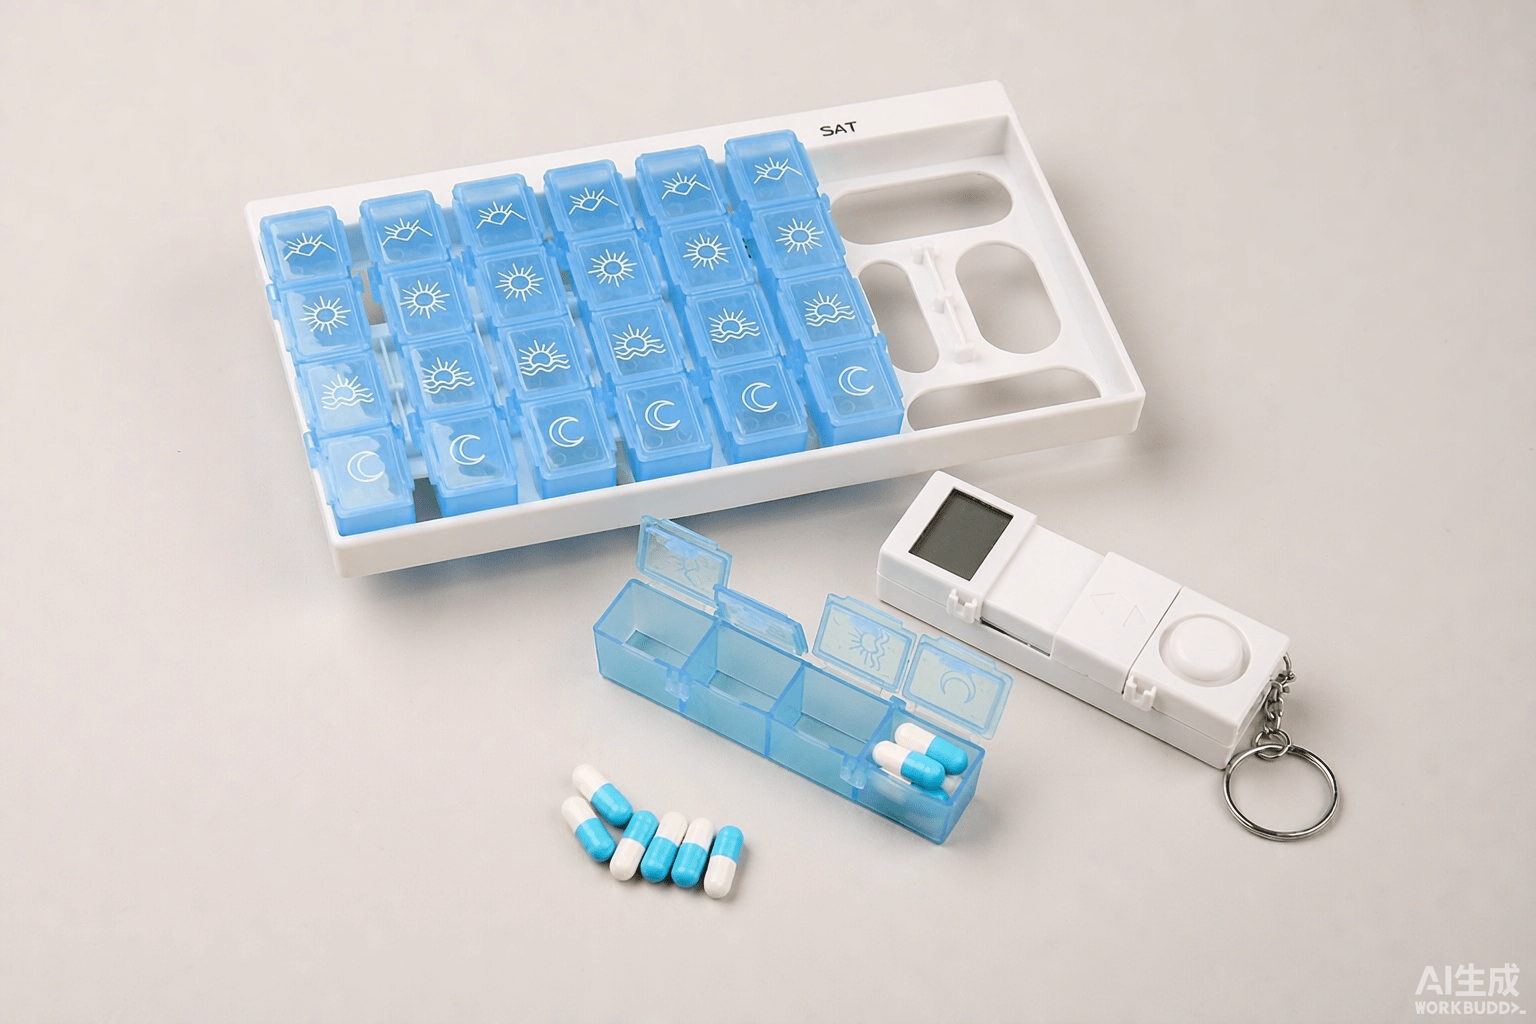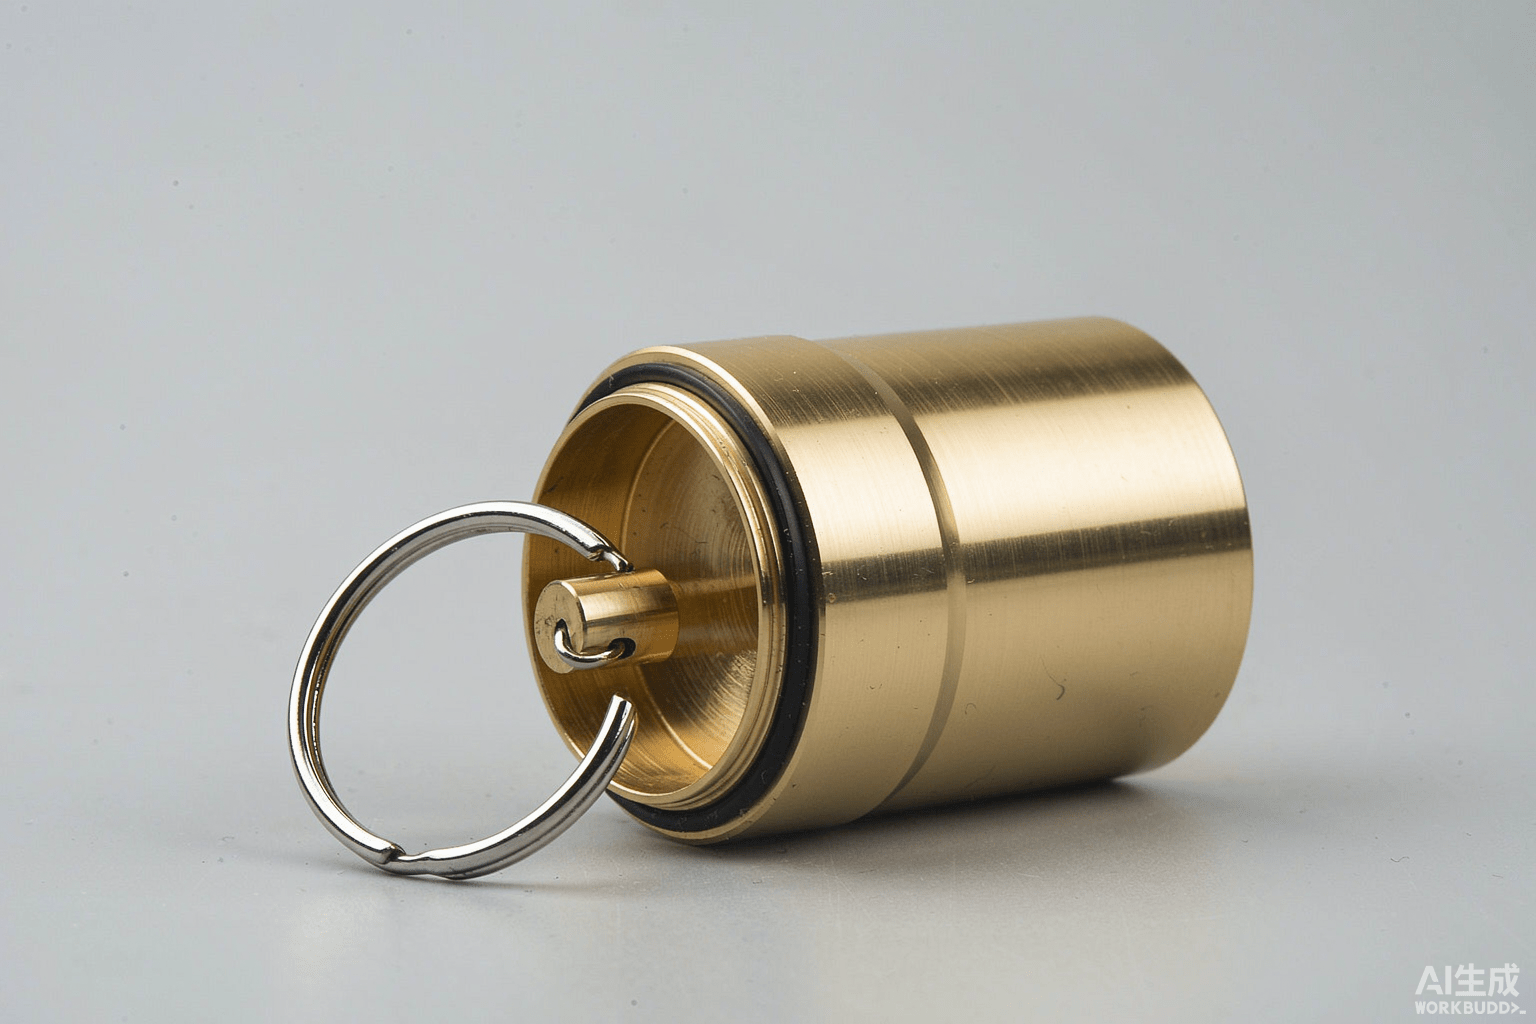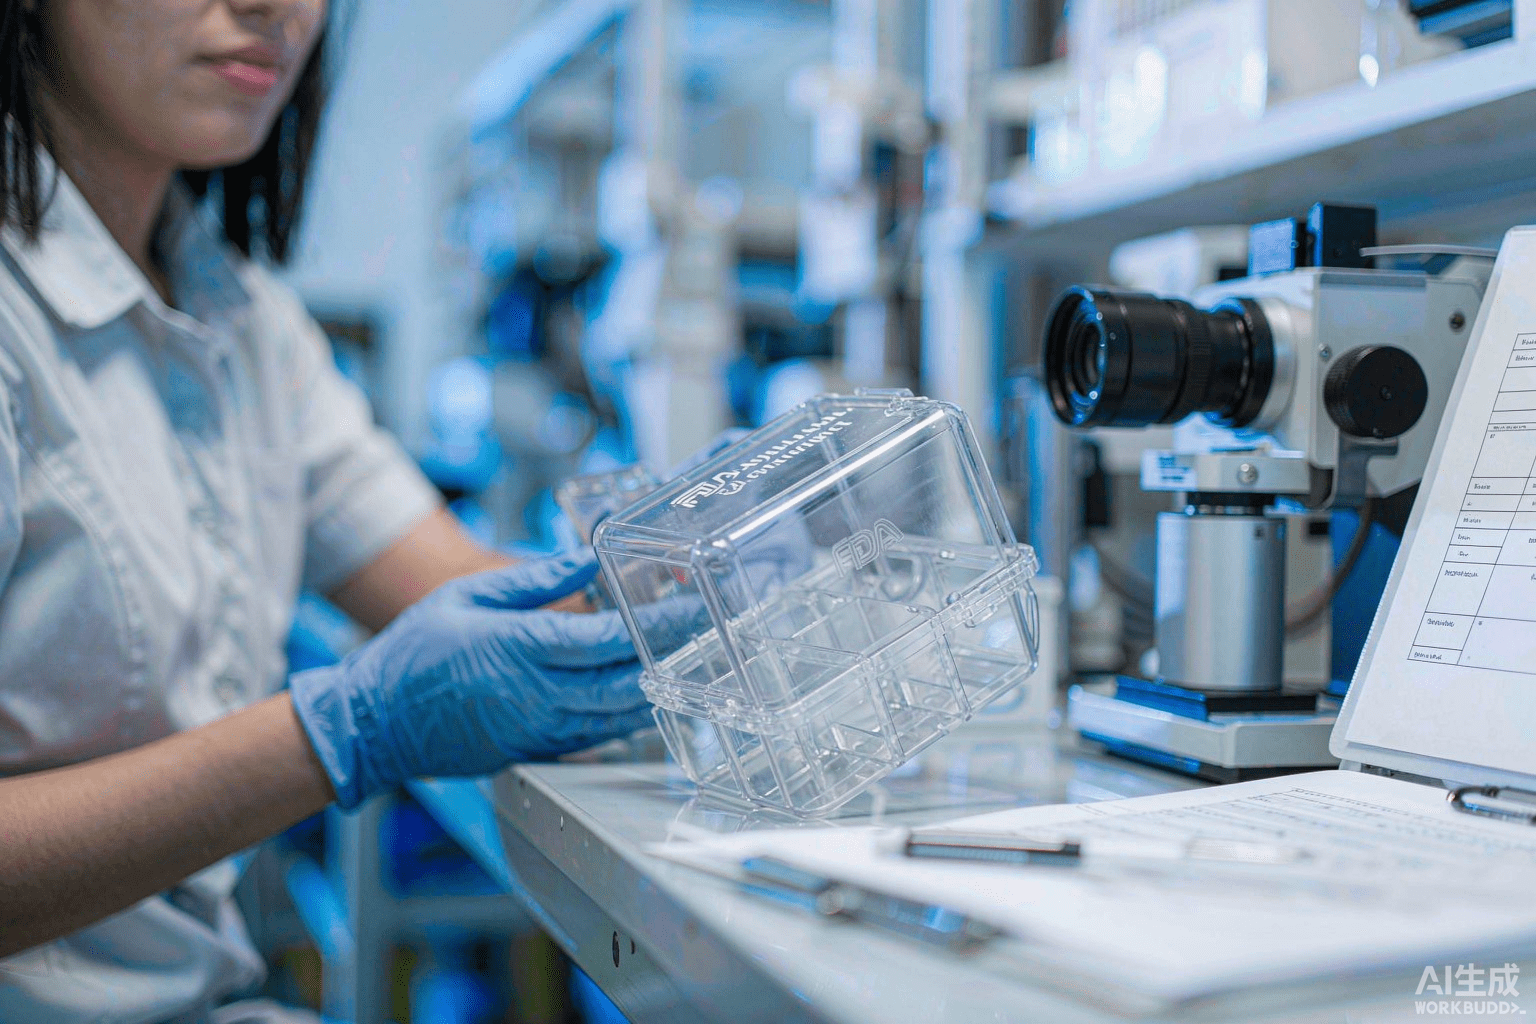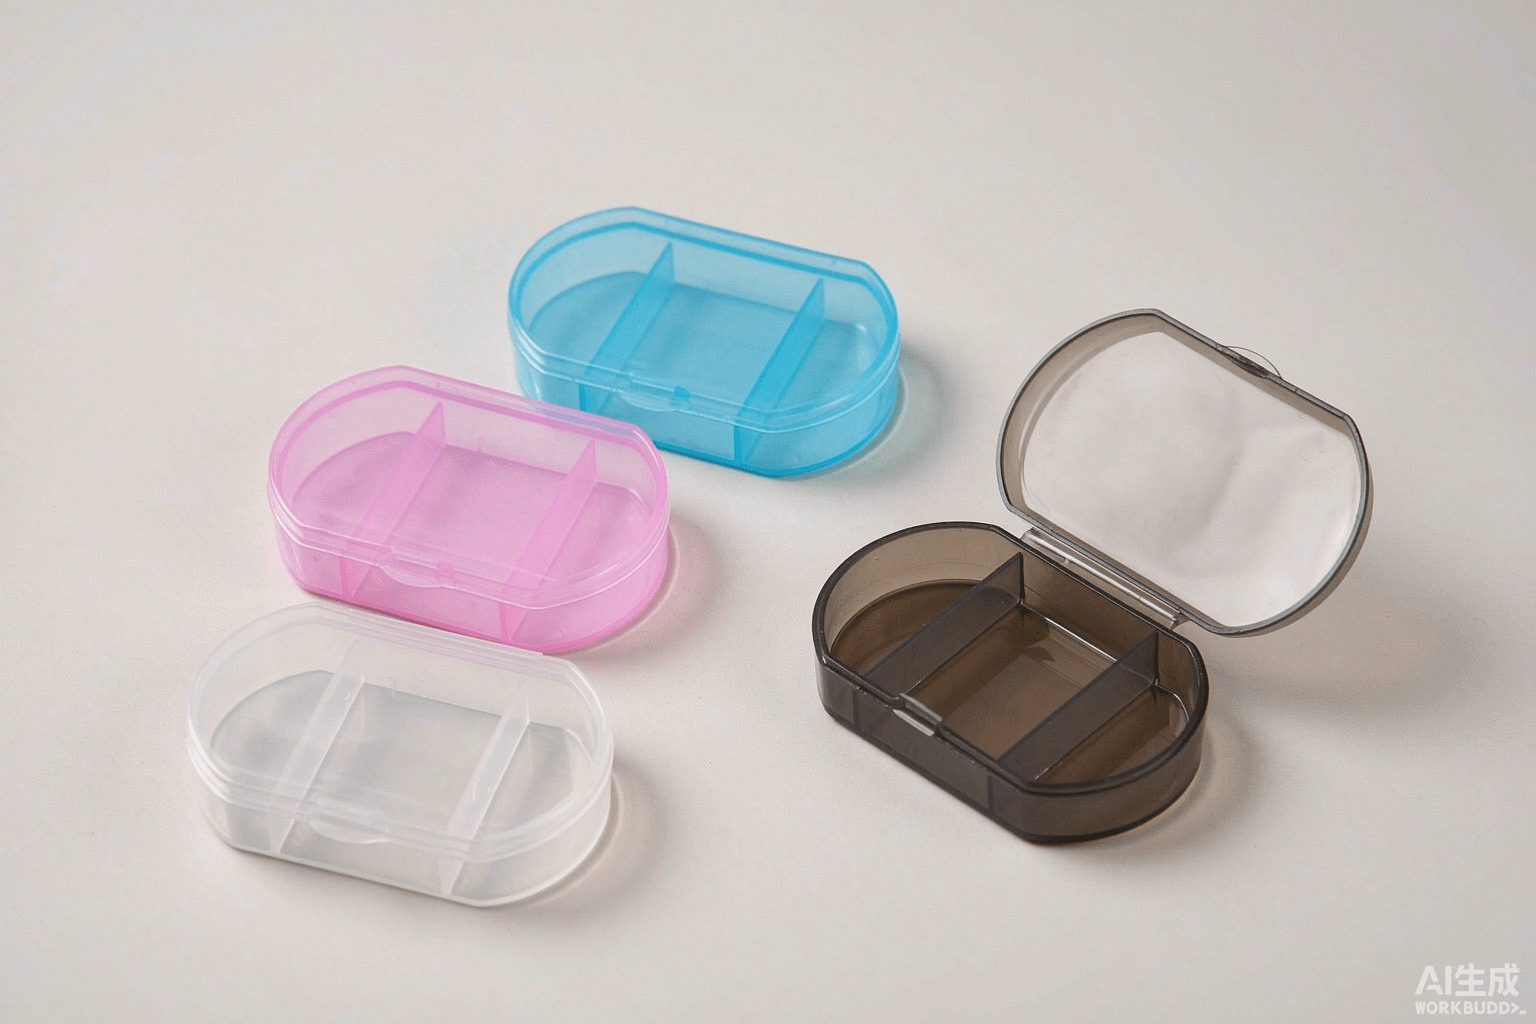
If you’re selling pill organizers under your own brand, a custom pill box is probably the quickest win you can get. In our factory, about seven out of ten first-time buyers do the exact same thing: they grab an existing mold, pick a Pantone color, and slap their logo on it. It’s fast, it looks good, and it costs way less than designing something from scratch. The other three out of ten either tweak a catalog shape or go full bespoke from a sketch. Either way, a custom pill box lets you control the look, the packaging, and the repeat order.
This guide covers how the process actually works, what to nail down before you send any money, and the small decisions that quietly save you a few thousand dollars on tooling.
What “Custom” Really Means
Custom work on a custom pill box splits into three parts. Factories quote each part separately, and that’s where buyers get caught off guard.
The first part is the box itself: shape, compartments, lid, lock. The second part is the finish: color, printing, texture. The third part is packaging: retail box, insert card, instruction booklet, master carton. I’ve seen buyers freeze when they see the first quote because they assumed “custom” meant one bundled price. It doesn’t. Ask for the breakdown. Every. Single. Time.
When someone says they want a custom pill box, they usually mean one of three things. Number one: their logo on an existing mold. Number two: a custom color on an existing mold. Number three: a fully bespoke design from their sketch. Most importers never need number three.
Logo, Color, and Finish
For plastic pill boxes, logos are usually pad printed, screen printed, or laser engraved. Pad printing is cheap and quick for simple one-color logos. Screen printing costs more per piece but looks fuller on flat areas. Laser engraving only works on metal, wood, or coated finishes. It burns the logo into the surface, so it doesn’t rub off.
Color matching runs against a Pantone code or a physical chip you mail in. Normal Pantone matches are easy. Neon, metallic, and soft-touch matte finishes aren’t. They need a special masterbatch run, so the factory adds a setup fee. If your order is under a thousand pieces, they’ll probably push you toward an existing swatch.
MOQ, Lead Time, and Tooling
MOQ mostly depends on whether the factory already owns the mold. Existing molds usually start around 1,000 pieces per color. New molds push MOQ to 3,000 to 5,000 pieces and add a tooling fee.
Tooling fees move around a lot. A simple ABS case mold might run a few hundred dollars. A multi-cavity mold with a living hinge can run several thousand. Lead time is split the same way. Mold work takes 25 to 35 days. Production runs 20 to 30 days after sample approval. Sea freight to the US East Coast is another 25 to 35 days. From deposit to warehouse, plan for 90 to 110 days.
Keeping Tooling Costs Down
We always tell buyers to start with a standard catalog shape. It’s the easiest way to drop the tooling fee. Avoid hinges that fold past 180 degrees unless you really need them, because they need tighter mold tolerances. Stick with a one-color logo, too. Every extra color adds a print plate. These choices don’t change how the user feels about the box, but they change how much cash you tie up before production starts.
Sampling: How It Actually Goes
The sample stage is where the real surprises hide. Here’s how we usually run it. Lock the spec sheet first: size, compartments, lid type, color. Then the factory sends a 2D rendering or 3D mock-up. Once you approve it, they make a physical sample. You test the fit, the lid security, and the print quality. Then you sign off or ask for one or two small changes.
Expect two or three rounds. The first physical sample typically runs $50 to $200. We cover the first round for most new customers. After that, changes outside the approved spec get charged.
What to Check on the Sample
Three things trip people up. Lid snap: too loose and pills spill in transit; too tight and elderly users can’t open it. Print registration: a logo that looks perfect on screen can shift half a millimeter on a curved surface, which is enough to look cheap on a small box. Weight: a solid ABS weekly organizer feels heavy. That’s a plus for some markets, a problem for travel-size products.
Picking the Right Material
PP is the cheapest plastic, but it scratches easily. ABS is harder and takes print better. Tritan is BPA-free and the safest bet for food-contact sales in the US and EU. Aluminum is for premium travel cases.
For most B2B buyers, ABS in a custom Pantone color is the right place to start. It molds cleanly, accepts print well, and replacement tooling is easy to find if you switch factories. That’s especially true for a custom pill box where the logo and color are the main selling points.
Mistakes We See All the Time
The worst one is treating sample sign-off like paperwork. We had a buyer skip the lid test once. After 5,000 units were made, they found the lid popped open when the box was dropped from desk height. The rework bill was twenty times the sample cost.
Another common slip is picking a color from a monitor. Screens lie. Always match to a physical swatch or mail the factory a color chip. Packaging is the third place people cut corners. The retail box and manual are usually the cheapest parts to customize, and they’re the first things the end user actually sees.
Finding the Right Manufacturer
A good custom pill box factory should do three things without you asking. Show you similar projects they’ve already produced. Give you an itemized quote that separates mold cost, unit cost, print cost, and packaging cost. Ship a sample within ten business days. If any of those three is missing, keep looking.
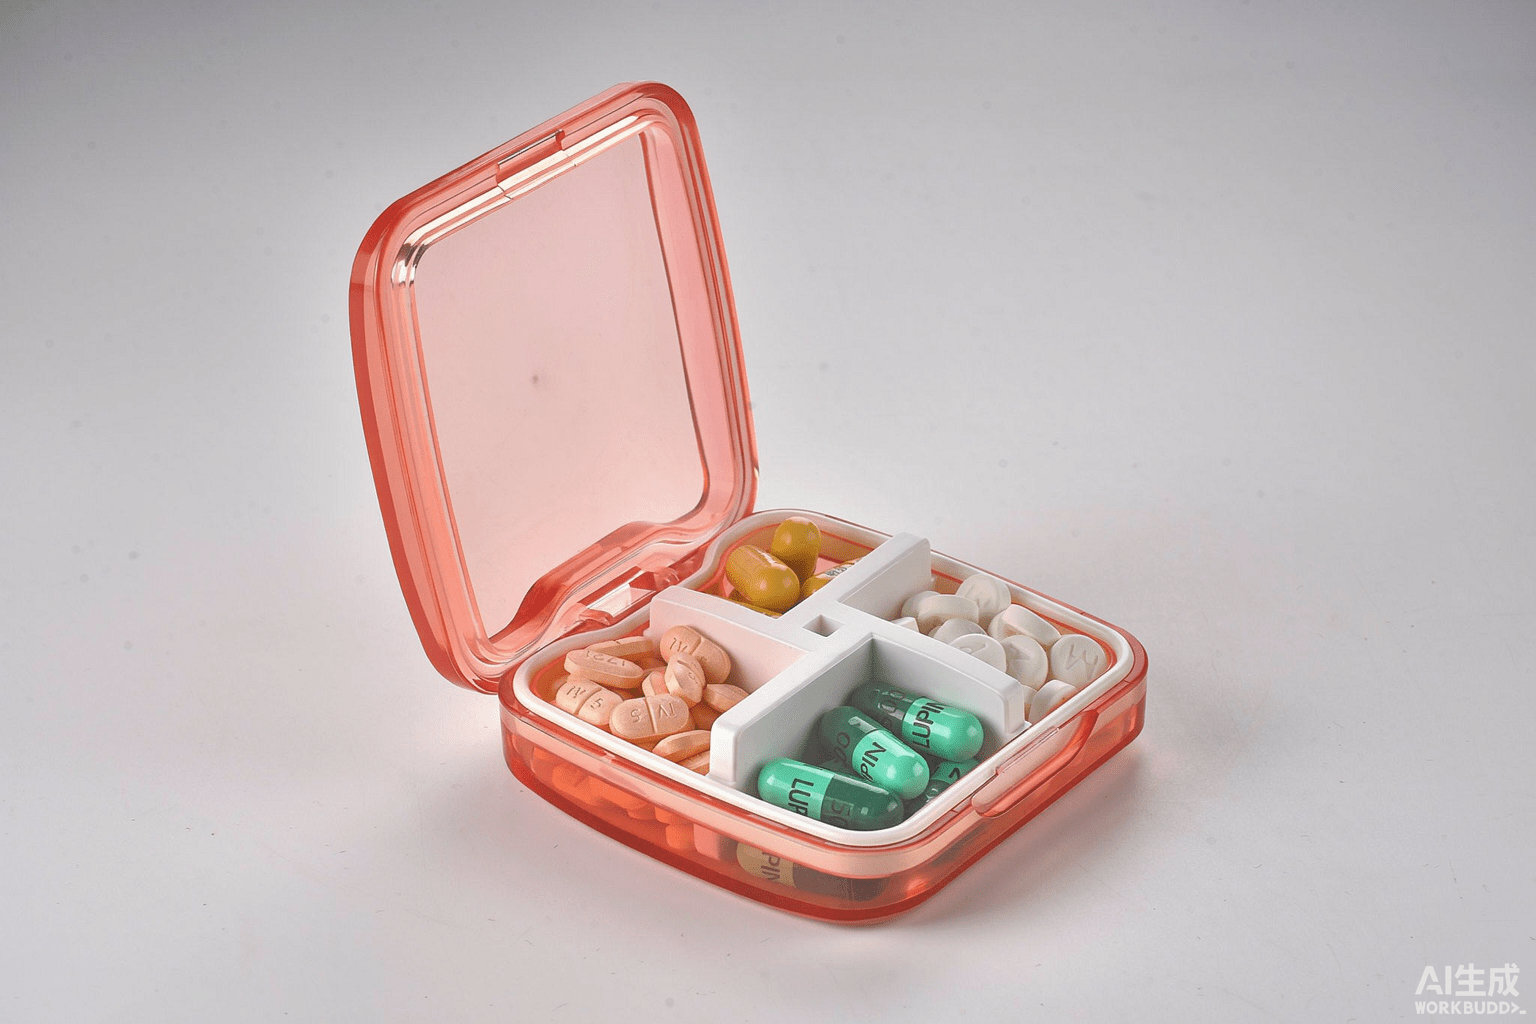
We run a pill box manufacturing operation in Ningbo, China, with FDA, CE, LFGB, and BSCI certifications, and we ship custom weekly and daily organizers to buyers across North America, Europe, and Australia. Browse our shop to see the current catalog, or start with our weekly pill box and daily pill box categories.